November 2024 Workshop
Designing for Print & Printmaking Methods
Creating a Tiling Pattern; Intro to Screen Printing
Taking refuge from the increasing drizzle and wind of Portland in November, a small group of creatives gathered to explore printmaking, embracing the unknown and joy of discovery. As a printmaker, mark-maker, and collector of ideas, but not a practiced teacher, I had a skeletal framework in mind—simple concepts any beginner could build upon with future self-study and interest.
Overview & Purpose
Reflecting on past workshops, I recalled how structured creative challenges often foster the most expressive freedom. This principle guided my choice to focus on tiling patterns—a simple yet expansive exercise in design. Tiling patterns can be applied to wallpaper, fabric, washi tape, tiles, and more, making them a versatile medium for experimentation.
Before diving into the process of making patterns, we started with an overview of accessible printmaking techniques—specifically risograph, stamping, cyanotype, and screenprinting. Each attendee received a packet summarizing these methods, including curated artist examples to showcase the vast range of possibilities in printmaking. For a deeper dive, you can check out the follow-up blog posts, Accessible Printmaking Techniques and DIY Screenprinting, and downloadable packets that each attendee received at the bottom of this page.
Creating a Tiling Pattern
The majority of the workshop focused on hands-on creation, allowing participants to apply fundamental design principles in real time. Below is a simplified version of the tiling pattern process:
1. Start with a blank sheet of paper and create your design without touching the edges.

2. Fold the paper in half (hamburger style) and cut along the fold.
3. Swap the top and bottom halves, flip them over, and tape them together.

4. Fold the paper in half again (hotdog style) and cut along the fold.
5. Swap the right and left halves, flip them over, and tape them together.

6. Your design should now touch all edges, leaving a cross shape of negative space in the middle. Fill in additional details if desired, but avoid touching the edges.

7. The result is a seamless, repeatable pattern!

Next, we discussed different printing considerations—such as using halftones for shading and the possibilities of CMYK screenprinting for realistic color. Depending on their designs, participants could transfer their patterns to linoleum or rubber for stamp printing. The example design, having minimal detail, would be a good candidate for a linocut technique.
Tile Creation Observations
Materials provided included pens, pencils, markers, pre-cut stamps, ink, and collage materials. To my surprise, attendees gravitated towards drawing with markers and using stamps, while collage materials remained untouched—an interesting contrast to my expectations as a collage enthusiast! The resulting patterns were stunning and showcased a variety of creative approaches.
Since this workshop was an introduction, I took the designs home to refine them for print. Each participant received their pattern edited for digital or paper printing. The next step? A follow-up workshop focused on making a design screen-print ready, where we’ll set up screens and print the patterns onto fabric. Stay tuned for the upcoming post *Making a Design Screen Print Ready*.
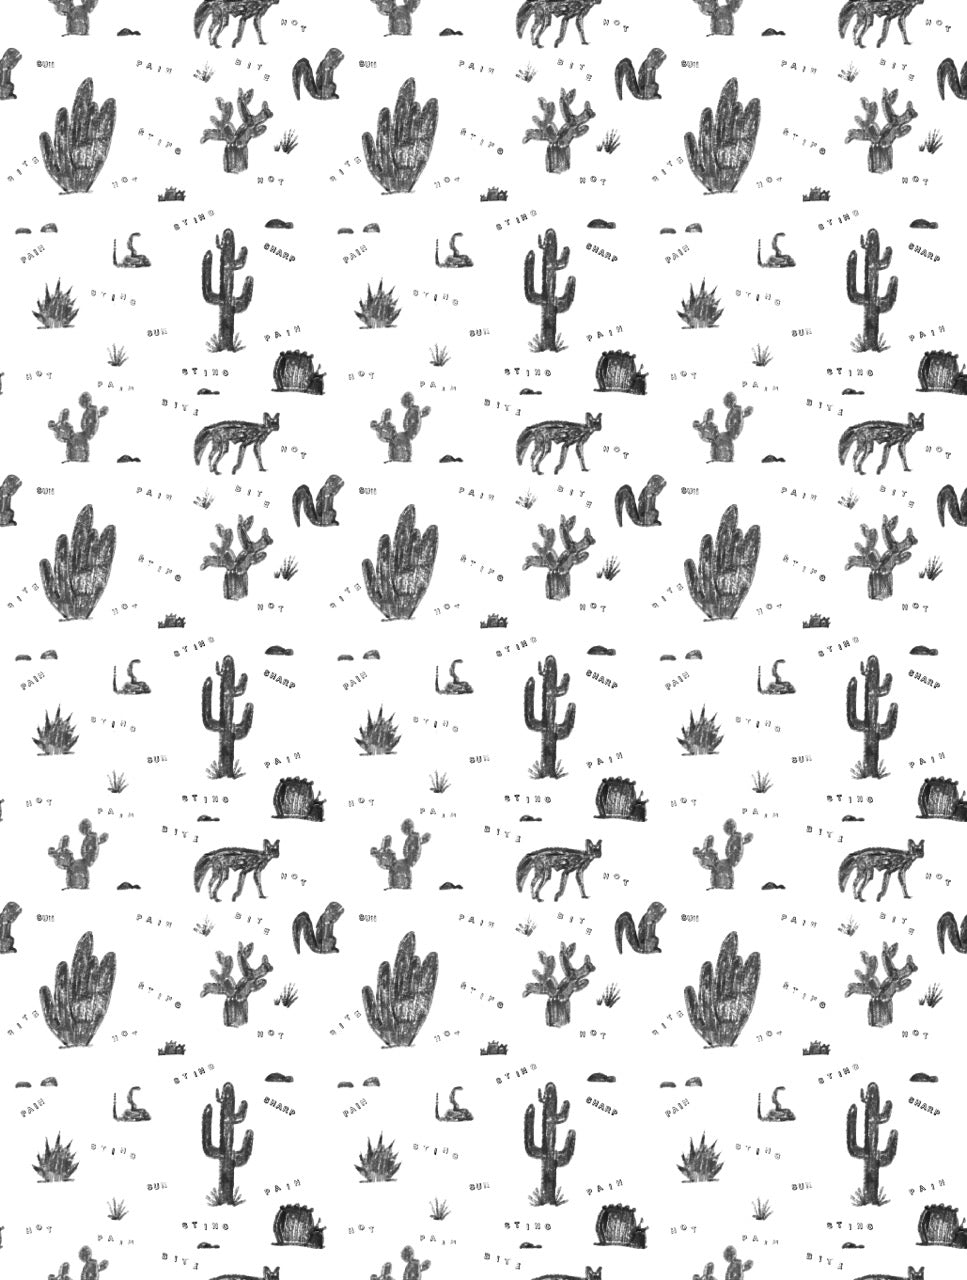
Attendees' Finished Tiles + Patterns


Screenprinting Demonstration & Takeaways
The workshop culminated in a screenprinting demonstration—a teaser for applying design fundamentals in a tangible way. We walked through:
- Setting up a four-color CMYK print.
- The importance of registration for halftone alignment.
- Off-contact printing to prevent ink from lifting or smudging.
- Proper ink consistency, flooding techniques, and squeegee handling.
The attendees were even more engaged in the process than I hoped, and we continued discussing design and printing throughout the session. One attendee, a fellow DIY screen printer, shared insights from her experimental projects—a serendipitous discovery as we realized we had attended the same university around the same time.
Final Thoughts
This workshop was an exciting first step into teaching about printmaking + design. The enthusiasm of the participants made it even more rewarding, and I look forward to future sessions. I hope each attendee left with inspiration and new techniques to explore in their printmaking journey.